Monday, January 9, 2012

Making plain cabinets fun!

Pin It

One of the biggest things we've had to tackle in our new home is a lack of storage closets. We were spoiled previously by having a huge closet in the bathroom and hallway, along with nice sized ones in each room. We also had a good amount of cabinet space in our kitchen...considering that I have more kitchen stuff than most restaurants. :) We needed a quick and inexpensive fix, so I turned to shelving. Which can quickly get expensive so I decided to utilize Closetmaid pieces from Target and Lowe's. But they're sooooo boring and can look cheap with their cardboard backs. So I decided to freshen them up a little bit and add some color.

If you've used this type of shelving before (or any inexpensive "fake" wood shelving that you purchase and put together at home), you'll be familiar with the backing for it. It is a cardboard type material that you nail to the back of the unit. On one side it has a coating that is the same color as the shelving, the other side is unfinished and looks like cardboard. This is the side we want because the other is shiny and the paint won't stick to it.

I used a small 6" roller to do mine. I used left over paint that we had from painting accent walls, so it would tie in with the other rooms in the house.

  Now comes the easy part. Just paint the backing for the shelf with your roller. Depending on your paint, you may need two layers.


  Once your piece is painted, let it dry completely!

  Once it's dry, follow the instructions for attaching it to your unit. 


Once your back is attached, continue with installing the shelves in the unit


Now you have an inexpensive shelving unit that has a little fun to it! I bought the above piece at Target for $16 and had all the painting supplies and paint already. It's a fun way to bring some color into a room and it's extremely easy!

Pin It

We're Here! Kind of...

  As many of you know, we've been in the process of packing our home in coastal Virginia and moving to Tampa, Florida. Talk about hectic. Home made meals fixed with all fresh ingredients quickly turned into meals delivered in a paper bag. Talk about gross. :) The actual move/drive was pretty uneventful. There were a few melt downs by yours truly and fair amount of stress. We left a day late, as expected, and drove to South Carolina before calling it quits for the day. We left late the next morning and finally arrived in Florida late in the evening. We were able to find our new home (a.k.a. extended stay hotel) easily. It was, ummm, nice. Which is being nice. I can honestly say that I would prefer to never live in a tiny hotel room with a husband and two cats again. Ever. Never.

  But we survived. Which I believe means that we can survive anything. We loved Tampa from the first day, hello Gulf of Mexico! The uncomfortable living arrangements got us motivated to quickly begin the search for a new home. It was frustrating at first when we couldn't find a place that was perfect and encountered issues getting realtors to call us back...but we kept going. And found an amazing place that we love! Just in time for Christmas. :) We quickly took on numerous house projects including painting and staining and got to work. Which was great, but put a hold on actually moving into the house. We've just recently finished our projects and are starting to get onto really unpacking and getting our house in order. Which means many, many more projects and countless trips to Lowe's and Target. They already know me by name.

  I'm ready to get back into projects and cooking! I've been going crazy on pinterest finding new recipes and projects. And attempting to work on some of my own. So stay tuned...I'm full of new ideas and energy! And I'm ready to get going again! 

Friday, December 2, 2011

Where Am I?

Our world has recently turned into one hectic stress machine. We found out the night before Thanksgiving that we are moving to Tampa...for sure, 100%. Oh, and by the way, you must be there and start work on the 12th of December. Fun activities have been put on hold, to be replaced by packing, temporary house searching, other moving activities and homework. Dinners have been getting served later and later each night, along with becoming easier. We leave here in less than a week and our house is far from packed. And I seem to have lost our floor. And counters.

I've worked on a few crochet projects, but mostly they are for gifts so I can't post information for fear that the gift receiver might see the photos and spoil the surprise. I started a fantastic red scarf in a basket weave that I was planning to use as a gift. That is until my husband began questioning who it was for and if it didn't have an owner he was willing to take it. Fantastic red scarf now belongs to equally fantastic husband. And they look fantastic together.

I did finish my new born dinosaur set for my younger brother & his wife. I'm still working on the set for older brother and his wife...even though I started it first. I'm not sure how these things happen. But it turned out precious an I was even able to find a teddy bear to model it. The cat said no.


  So, hopefully our move will proceed smoothly and we'll find a new home quickly. Until then my posts will be sparse and not very in depth! Now, back to playing with boxes...

Wednesday, November 23, 2011

Tweedy Shell Cowl

Pin It


Tweedy Shell Cowl


Materials:
Size I/9-5.5 mm crochet hook
(1) ball Lion Brand Tweed Stripes yarn in color of your choice (I used Woodlands).

I like the Tweed Stripes because it gives the cowl some depth and a nice pattern. I used exactly one ball of yarn, so if you crochet loosely then you might want to grab two balls. You can obviously use any yarn you would like. Tweeds are a bulky (5) yarn, 3 oz, 144 yards, so you would need to adjust hook size for something different.

My cowl turned out about 8 inches wide by 2 feet long. You can adjust the width by adding or subtracting 6 chains in the beginning. Make sure you do it in 6’s so the pattern works out right. Also, you can easily continue with the pattern longer if you want to make a cowl that will wrap twice around your neck.

Begin by chaining 26
Row 1: Single crochet into the second chain from the hook and each chain across. (25 sc)
Row 2-6: chain 1, turn. Sc into each stitch across to the end
Row 7: Chain 1, turn. Sc into the first stitch. *Skip 2 stitches. 5 triple crochet into next stitch. Skip 2 stitches. Sc in next stitch* Repeat from * to the end, ending with a single stitch.
Row 8: Chain 3 (counts as first triple), turn. 2 triple crochet into first stitch (last single from previous row). *Skip 2 stitches. Sc in next stitch (which is top of shell from last row). Skip 2 stitches. 5 triple crochet into the next stitch (Single crochet from previous row).* Continue from * until the end of the row. End with 3 triple crochet into the final stitch.
Row 9: Chain 1, turn. Sc in first stitch (top of last triple from previous row). Skip 2 stitches. 5 triple crochet in next (single stitch from previous row). Skip 2. Sc in next stitch (top of shell)* Repeat * until end of row, stopping with a single chain.
Row 10-35: *Repeat Row 8, repeat Row 9* continuing until row 35 or cowl is the length you desire. Make sure that you end with a repeat of row 8.

Here is a photo to help explain in case you aren't familiar with this pattern:


To bring us back to straight edges & button holes:

Row 37: ch 1, turn. Single crochet in first triple chain from previous row. *HDC in next stitch (triple from previous), double chain in next 3 stitches (triple, sc, triple from previous), hdc in next stitch (triple from previous), and sc in next stitch (triple from previous/top of shell)* Continue from * until the end of row, stopping with a single crochet.
Row 38-39: ch 1, turn. Single crochet across all stitches
Row 40: ch 1, turn. Single crochet across 6 stitches. *Chain 1. Skip next stitch. Single crochet next 5 stitches.* Repeat from * until the end (2 more times)
Row 41: Single crochet across entire piece, in both chains and stitches from previous row.
Row 42: Single crochet across all stitches.
Fasten off and weave in all ends

Fold your new cowl in half and sew your 3 buttons on so they align with the buttonholes.


I hope this pattern makes sense! Please let me know if you have any questions.  
Pin It

Tuesday, November 22, 2011

Roasted Garlic Parmesan Asparagus


I love asparagus any way I can get it. But this is by far my favorite ever!! In 2006 I flew out to Salem, Massachusetts to spend Halloween weekend with my (fairy) Godmother. She made this for dinner one night and I've been obsessed ever since.


As with most of my recipes, I don't really have one for this! So I'm winging it. :) You'll need:

(1) Bundle of Asparagus
(3) Tbls butter (more or less)
(1) Tbl garlic powder
1/4 cup grated Parmesan cheese

Turn the oven on to broil. Throw the asparagus into a pot of boiling water and cook until tender. Drain. Melt the butter and mix in the garlic powder. Lay the asparagus out on either a broiler pan or a cookie sheet. Sprinkle the parmesan cheese on the asparagus. Then pour the garlic butter mixture over the top.


Simply put the pan onto the top rack of the oven until the cheese is melted and slightly crispy in spots. It usually takes only a few minutes.

Serve and enjoy!!!


Thursday, November 17, 2011

Rain, Rain, Go Away and take Winter with You!!

Pin It

It is a cold and wet day on the southeast coast of Virginia.


  It's one of those days where you want something hot to drink and a soft blanket. Instead, I have a desk and school books. It's days like these where I want to make it warm inside. Since homework (and ability) keeps me from whipping out a fresh baked apple pie, I turn to the second best thing. Stovetop potpourri! It makes the house smell warm & cozy inside.

  The ingredients you can chose from are endless, but this is my favorite way. Actually, a friend taught me this trick when I was in my teens as a way of making people think I had made an apple pie rather than picking one up at the market. =]


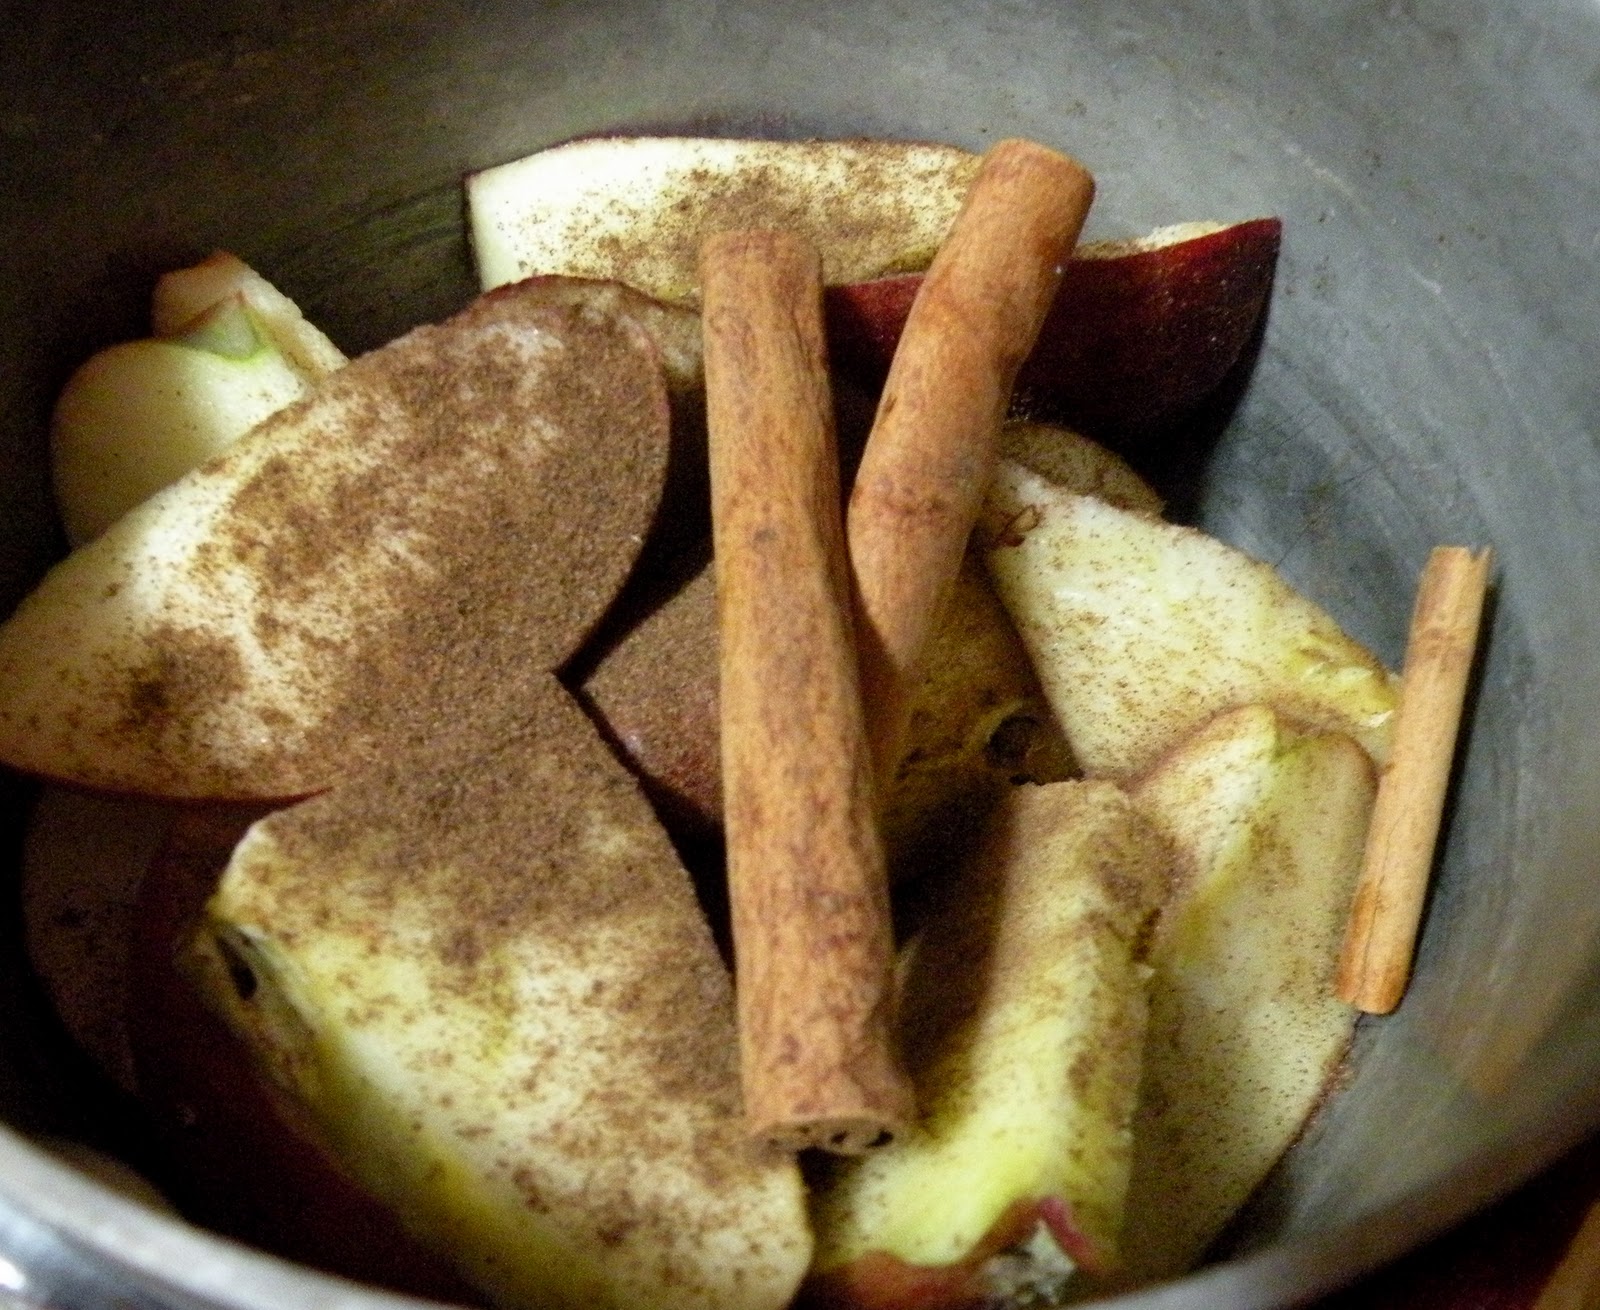
I like using apples, cinnamon (stick), and some ground allspice. Other things you can use are vanila, oranges (zesting the peel works great!), nutmeg, lemons, or anything else that you love. Start off by cutting up the apples. It doesn't need to be pretty or perfect, just so they're cut up!


Toss the apples and a couple of cinnamon sticks in a pot, then sprinkle allspice over the top of them. Note that you'll be boiling this for quite awhile and it could leave some stains on the pot. So, don't use your brand new set....if you have one! Usually though it will all clean off with some scrubbing.


Fill the pot with some water and bring to a boil. Once it boils, reduce the heat and just let it go!


You can let this simmer away all day if you want, just make sure to add some more water. It will make your home feel so much warmer! Then run to the market and buy an apple pie, your friends will all believe you cooked it when they come over. =]
Pin It

Wednesday, November 16, 2011

Wordy Wine Bottles

Pin It

Here is another fun craft to do with empty wine bottles. If I keep finding crafty things to do with wine bottles, I'm going to have to start drinking more wine! Darn it. =] You will need:

Wine bottle(s) or really any bottle of any size
Glue gun & sticks
Spray paint of your color choice

First, soak your wine bottles in hot soapy water to clean them and remove the labels. Now comes the fun part! Using your glue gun write a word or draw a design on your bottle. I chose to do "Give" on one and "Thanks" on the other in honor of Thanksgiving. I'm going to do another one to go with them and draw leaves on it.


Try to clean up any stray "strings" of glue because they will show up when you spray paint the bottle. I learned this the hard way. 

Also, if you're easily distracted (like me) I would suggest not attempting to carry on a conversation with your husband while doing this. Otherwise you may forget the K in Thanks


If you mess up, don't fear! Just let the glue cool and then peel off the mistake. Now you're ready for spray paint! Don't forget, always spray paint outside. =] Simply spray the bottle in short strokes, keeping the spray paint at least 8" from the bottle. You don't want to get the paint on too thick or it will run. 


Allow the bottle to dry and if needed, apply a second coat of paint. Let it dry completely and you're done! Now you have cute vases with your own words or designs on them. That was easy. And cheap!


Pin It
Related Posts Plugin for WordPress, Blogger...